DIY: Dead Princess Look
We know that your costume for Escape: All Hallows’ Eve is just as important as your ticket, so we’ve put together these extremely easy designs and ideas to get you started creating your very own unique look for the show.
Each DIY item we’ve designed is inspired by classic Halloween looks, ranging from sugar skulls to witches to zombies. No look should cost more than $15, and you can find all the supplies at local fabric, party supply, or 99 Cents Only Stores. Pro tip: Be on the hunt for costume props and accessories during the holiday season; it’s a golden time to find unique items.
These items were created using a relatively simple base, so don’t hesitate to take it one step further and explore your creativity! Add rhinestones, chains, glitter and whatever else your heart desires to these looks to make them your own.
Design by Just Lust
Makeup by Brina Z
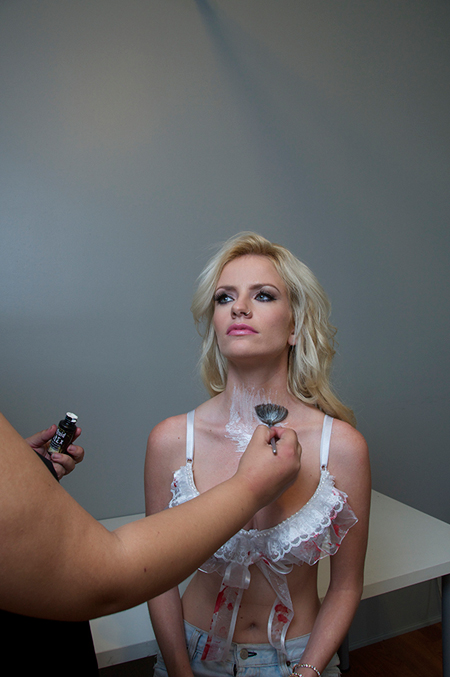
Dead Princess Makeup
Items needed:
• Liquid latex (optional)
• Fake scar or scar putty
• Red face paint
• Dark red or burgundy lip paint or gloss
• Fake blood
• Face powder that matches your skin tone
• Disposable sponge or brush
• Powder brush or powder sponge
• Q-tips
• Cosmetic spatula or plastic spoon
Step 1 (optional)
Apply a layer of liquid latex to the area where the blood and fake wound will be. This is optional but helps with removing the makeup afterward.
Step 2
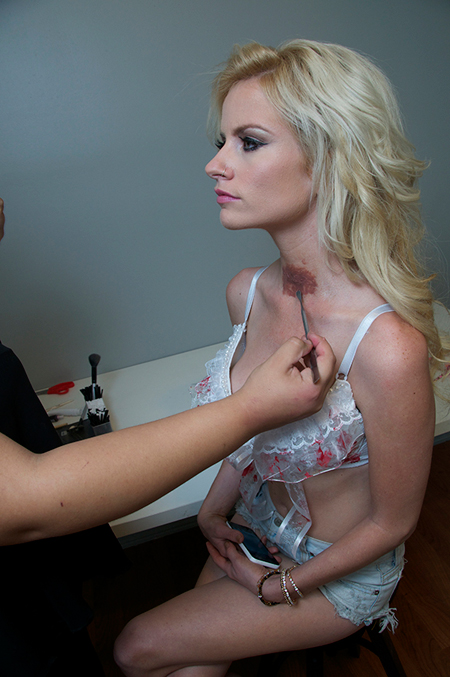
Apply the fake scar or scar putty to your skin. To make it the size and shape of the desired wound, use a plastic spoon or cosmetic spatula to smooth out the edges, while keeping a thicker layer in the center.
Step 3
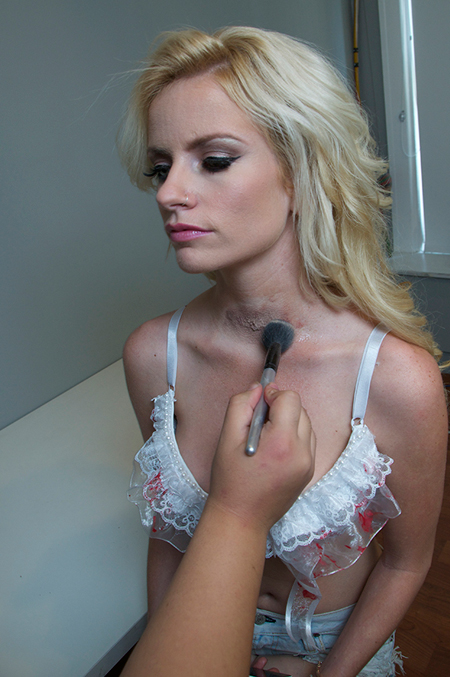
Set the fake wound with face powder.
Step 4
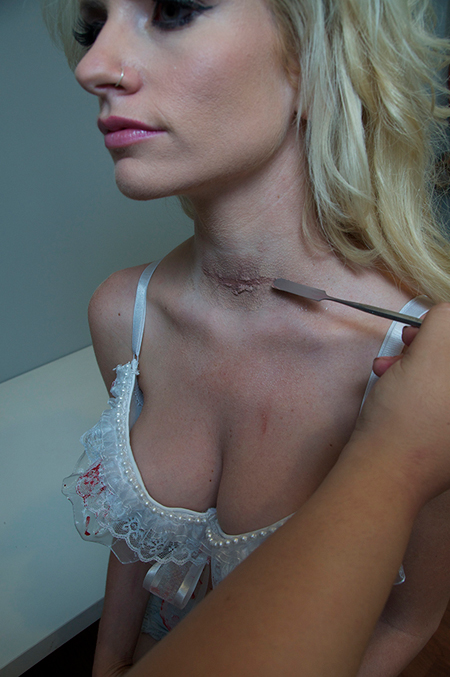
Using the thin edge of your plastic spoon or cosmetic spatula, create a line in the thickest part of the scar.
Step 5
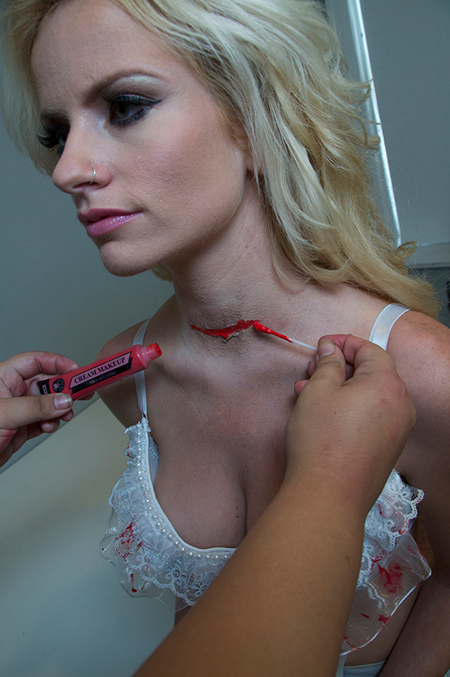
With a Q-tip, apply red face paint in the line and dab the burgundy lip paint over it.
Step 6
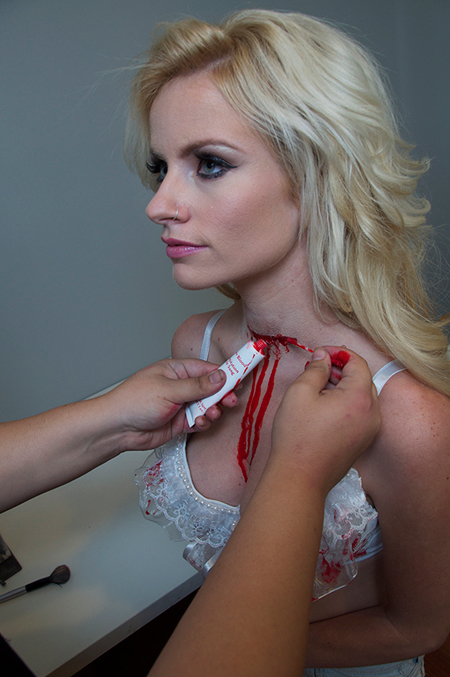
Apply fake blood on the line.
Click through to the second pagre for our dead princess bra tutorial…
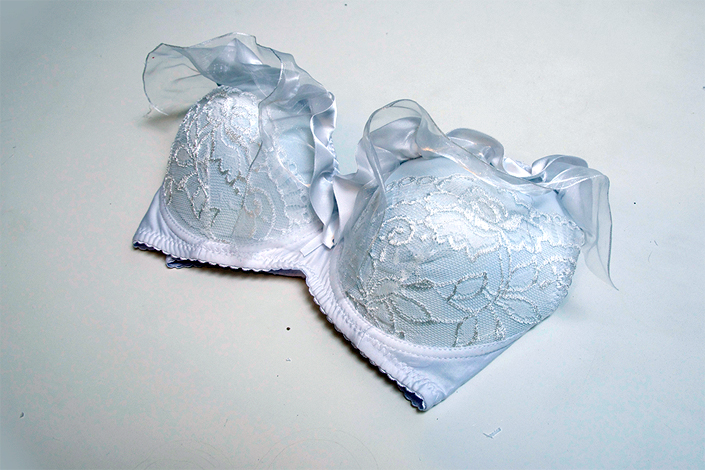
Dead Princess Bra
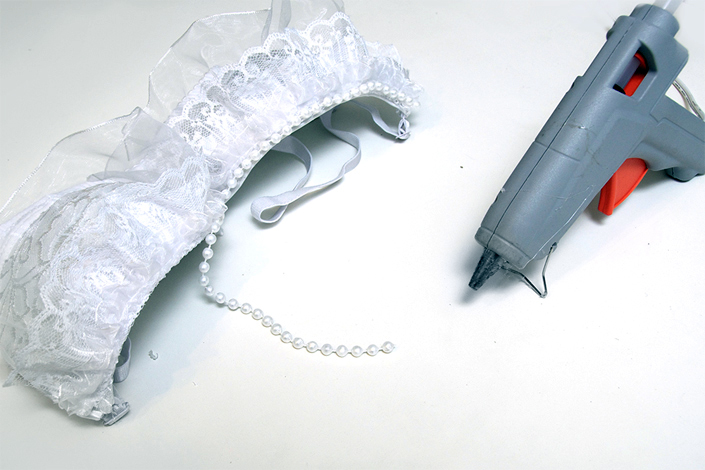
Items needed:
• White bra
• Pearl strand
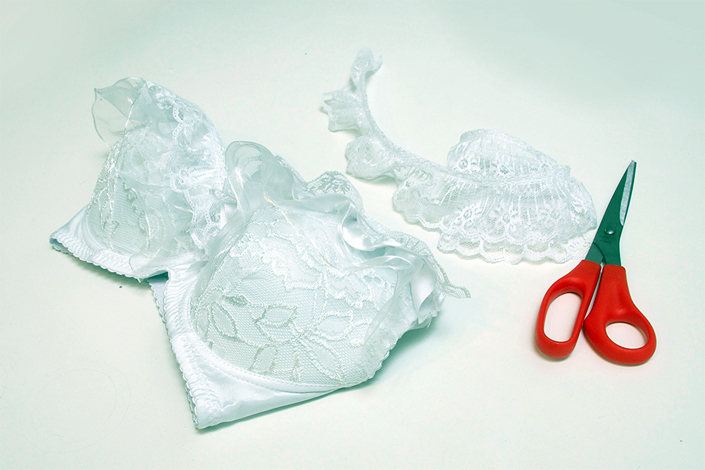
• Three white trims of varying length
• White bow
• Red acrylic paint
• Hot glue gun
• Paintbrush
Step 1
Glue the longest trim 1/4 inch from the top edge of the bra.
Step 2
Glue the medium-length trim on top of the longest trim.
Step 3
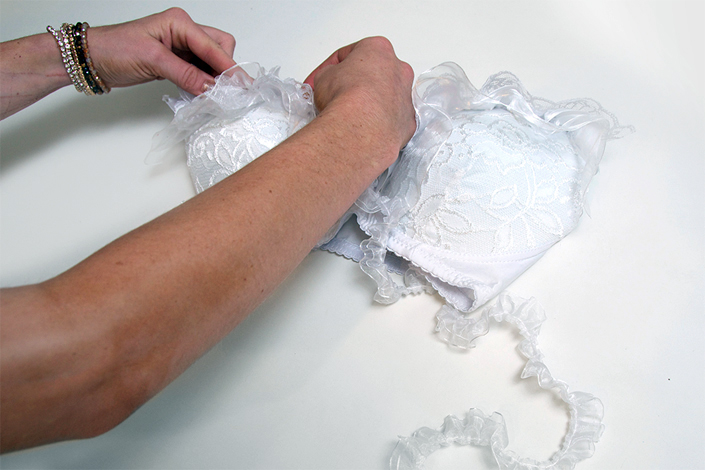
Glue the shortest trim on top of the medium-length trim.
Step 4
Glue the pearl strand to the very top edge of the bra.
Step 5
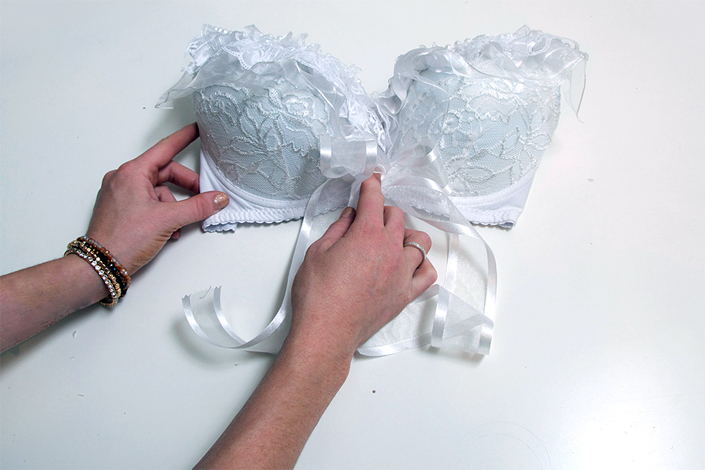
Glue the bow to the center of the bra.
Step 6
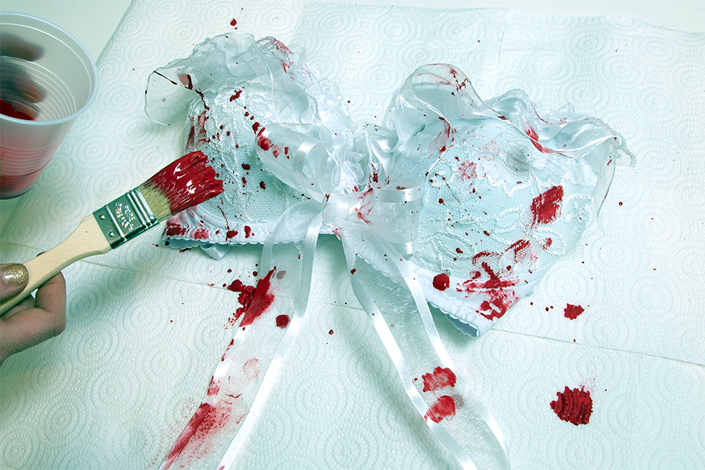
Dip the paintbrush (and your fingers) into the red paint. Smear the red paint to make it appear like blood, and don’t be afraid to go crazy!
TIP: Once you have an adequate amount of paint on your paintbrush, use your fingers to pull the brush bristles back, and fling it! It gives a good splatter effect.
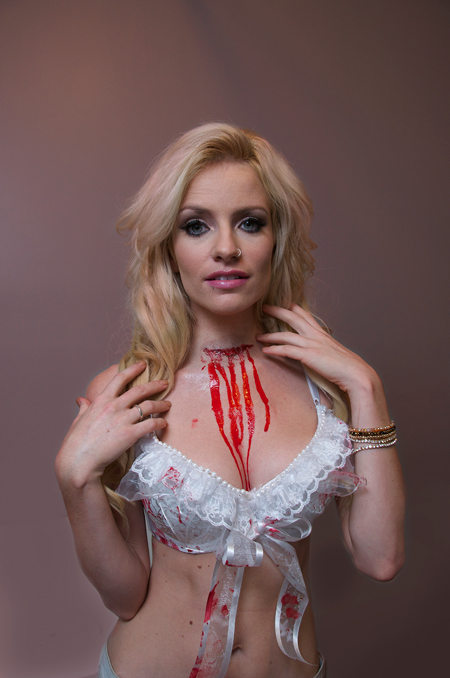
Here’s the completed look!
Share
Tags
You might also like